As a recent graduate, I finally found my perfect little nest, but looking at the empty rooms and my dwindling savings, I fell into deep contemplation. Buying high-end furniture was impossible, but I didn't want to settle. After some research, I decided to start an IKEA furniture transformation project, creating my dream home on a minimal budget.
During my first visit to IKEA, like all young people, I was drawn to their minimalist furniture designs. But after walking around, something felt missing. While functional, these pieces were too commonplace - you'd see the exact same setup in every young person's home. As someone who refuses to be ordinary, I started thinking about ways to give these furniture pieces a unique twist.
I realized IKEA furniture is like a blank canvas - basic but full of potential. Take those wall cabinets, for instance. Though cheap and practical, they often leave an awkward gap between the cabinet and ceiling, looking budget. But with some modifications, they could transform into high-end custom pieces.
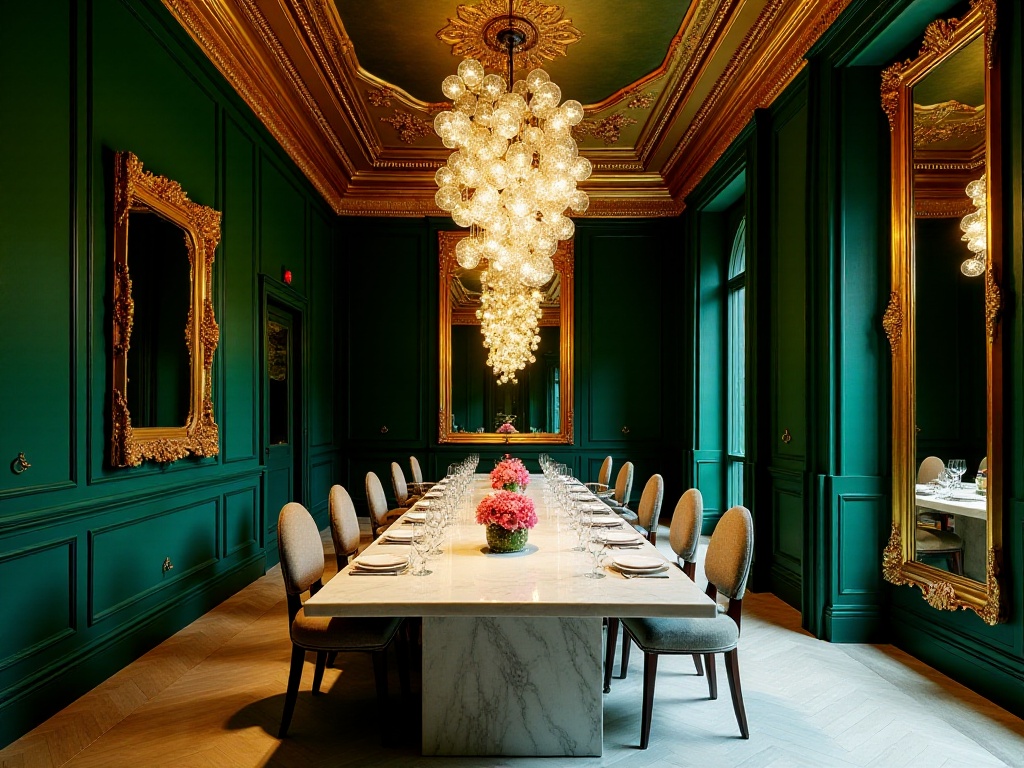
I began searching design websites for inspiration, studying elements of luxury furniture. Gradually, I discovered that the essence of high-end furniture isn't about expensive materials, but rather design details and overall harmony. This revelation excited me because it meant that with clever design, ordinary IKEA furniture could exude sophistication.
I remember feeling nervous when I first started transforming my kitchen wall cabinets. My parents thought I was bored silly, and neighbors gave me strange looks. But I knew this transformation would surprise everyone.
First, I carefully measured the gap between the cabinet top and ceiling, finding about 30cm of space. Wasting such space seemed foolish. So I went to the building materials market and found a moisture-resistant MDF board, having it cut to size. I chose moisture-resistant material because kitchens have heavy oil fumes, and regular wood boards can easily mold and warp.
For a quality finish, I specifically chose a matte off-white paint that's both stain-resistant and easy to maintain. The entire transformation took a weekend. I first secured the board above the cabinet, filled the gaps with putty, and carefully sanded after it dried. Finally, I applied two primer coats and three topcoats, with stunning results.
The ordinary wall cabinet transformed into a floor-to-ceiling custom cabinet, with one-third more storage space. Most satisfyingly, the entire transformation cost only $35, but looks no less impressive than custom cabinets costing thousands.
Honestly, when I first bought the Billy bookshelf, I thought it was a very common choice. But after my transformation, it became a premium bookcase that amazed every visitor.
I bought two standard Billy bookshelves as the foundation. Then I had a wooden frame custom-made at the building materials market, designed to make the bookshelf look like built-in custom furniture. The frame was slightly larger than the bookshelf to create a recessed effect.
The lighting design made this transformation truly special. I installed adjustable LED spotlights under each shelf, serving both as reading lights and display lighting. At night, with the lights on, the entire bookcase looks like a boutique display area.
To perfect the transformation, I specifically sprayed the frame with a pearlescent matte paint that reflects subtle shimmer from different angles, creating a high-end look. Finally, I added a rattan-textured wallpaper to the bookshelf's backing board, adding more depth to the overall effect.
This transformation cost more than the cabinet: two bookshelves for $150, custom frame for $45, LED spotlights for $30, paint and wallpaper together for $45, plus some hardware, totaling less than $300. But the result is absolutely worth it - my friends all thought it was a custom bookcase worth thousands.

During this month of transformations, I've gathered quite a few money-saving tricks. First is material selection, which involves considerable know-how.
Many people think you need the most expensive materials for good results, but that's not true. Take paint, for instance. While specialty stores sell paint for hundreds per bucket, you can find the same colors at hardware stores for half the price using color matching. The key is knowing what effect you want and finding the most cost-effective materials.
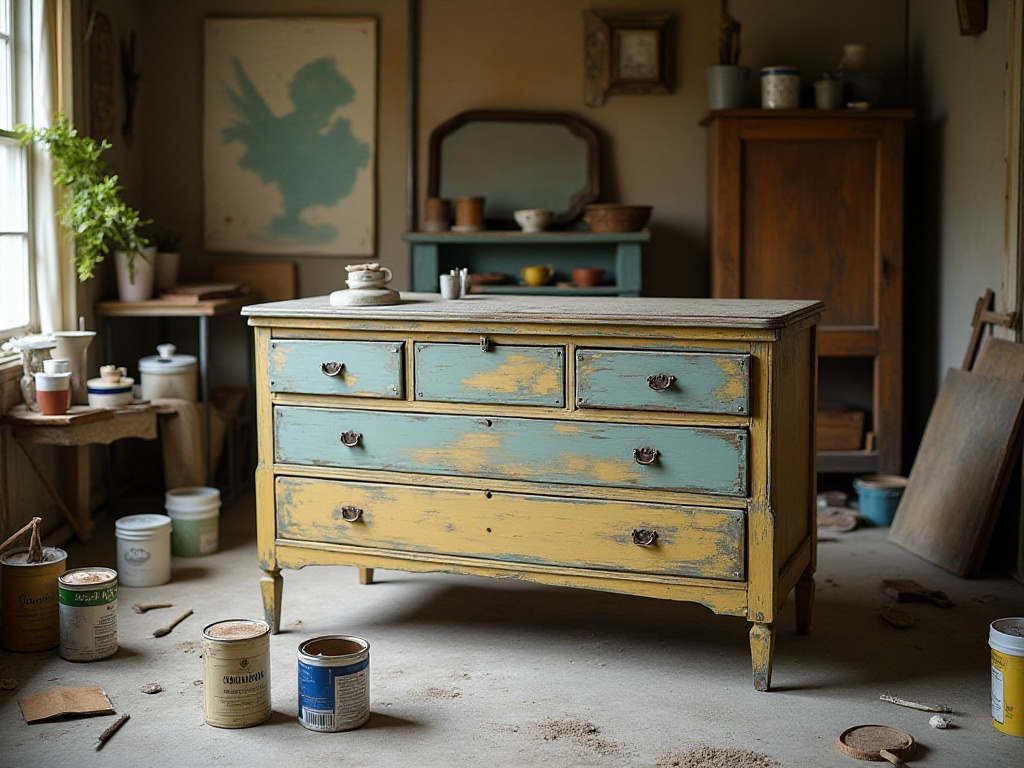
My proudest money-saving trick is frequenting second-hand markets. Platforms like Xianyu and Zhuanzhuan often have great finds. Once, I found an old solid wood coffee table on Xianyu for just $30. Though the surface was somewhat worn, the material was solid. After bringing it home, I spent a weekend carefully sanding it and applied a vintage-style paint.
This coffee table is now my living room's focal point, and friends always ask which vintage furniture store I bought it from. When I tell them it's a $30 find from Xianyu, their jaws drop in amazement.
Many people think furniture transformation requires lots of professional tools, but it's not that complicated. My toolbox only has the basics: an electric drill ($37), a screwdriver set ($10), several bottles of wood glue ($3 each), plus 4 woodworking clamps ($4.50 each). These tools total less than $75 in investment but can handle 90% of transformation needs.
Moreover, these tools offer excellent value for money. I've already transformed at least ten pieces of furniture with them, averaging less than $7.50 in tool costs per piece. More importantly, these tools can continue to be used, making them indispensable household items.
For special tools like cutting machines and sanders that you might only use occasionally, you can rent them on Xianyu or have hardware stores do the processing. This saves expenses and prevents tool idle time.

Through this month of transformations, I've encountered many pitfalls, and I want to specifically remind everyone of several points:
First, proper preliminary design work is essential. I learned this the hard way - skipping design drawings the first time seemed easier, but when the materials arrived, the dimensions were wrong, and I wasted several hundred dollars having to rebuy everything.
Second, safety first. While young people tend to prioritize efficiency, proper protection is crucial when using power tools. My essential protective gear now includes goggles, a mask, and gloves. Once, rushing to meet a deadline, I thought wearing goggles was too much trouble - sawdust nearly got in my eyes, and I've never skipped protection since.
Then there's the weight-bearing issue. Some transformations look simple but can be hazardous if not handled properly. For instance, I once wanted to transform a regular wardrobe into a wall-mounted one but abandoned the idea after considering wall load-bearing capacity. It's better to spend more time researching than taking risks.

Honestly, this month of transformations has taught me so much. Beyond improving my hands-on skills, it's cultivated a lifestyle attitude.
Now, whenever I see ordinary furniture, ideas for transformation automatically pop into my head. Through these transformations, I've truly experienced that "life isn't just about getting by, it's also about poetry and dreams." Even with limited budget, we can create an elegant and tasteful life through our own hands.
Most touching was the encouragement and support I received after posting my transformation process on social media. Some said my transformations inspired them, while others couldn't wait to try my methods. The joy of sharing really makes all the effort worthwhile.
So, if you also want to transform your furniture, don't hesitate - boldly give it a try. Remember, anyone can be a lifestyle artist; the key is having ideas and daring to try. I look forward to seeing your transformation works on social platforms, and perhaps we can exchange ideas and create ideal lives for young people together.
 Previous