I've been incredibly busy lately, helping my best friend look at houses and renovate her new home, so much that my social media has nearly gone dormant. But honestly, seeing her new home transform from a basic shell into something so sophisticated gives me such a sense of achievement!
Recently, many followers have been messaging me, asking how to make their homes look this stylish. It seems everyone's interested in home renovation! As someone who has gone through three renovations, I'll share all the pitfalls I've encountered and lessons learned. Whether you're a fresh graduate renting your first place or a "boss" who owns a home, I believe you'll find inspiration that works for you.
Honestly, I think the living room needs the most careful design in the entire home. Why? Because it's not only where we spend most of our time but also the first impression area when friends visit. I'm quite research-oriented, and for this article, I specifically analyzed 78 sophisticated living room cases, ultimately developing a super practical "sandwich" principle.
This "sandwich" principle is actually very easy to understand - it's about designing the space in three layers, just like the sandwich we eat, with each layer requiring special attention.
The top layer is our lighting system. I think lighting design is the most easily overlooked aspect, yet it's the most effective in elevating a space's class. Take my friend's living room - it originally had just a plain chandelier that looked very monotonous. Later, we replaced it with a Nordic-style chandelier, simple in design but very stylish. The key is that we added dimmable spotlights in all four corners, allowing us to create different atmospheres at different times. For example, when watching TV, we can turn off the main light and just use the spotlights, instantly creating a cinema-like atmosphere.
The middle layer is the visual focus of the entire space, where our eyes are most likely to notice. In my friend's home, we focused on designing a photo wall. But this photo wall isn't just randomly hung photos. We specifically chose 12 frames of different sizes but unified them with champagne gold colors. The photos weren't randomly selected either - we specifically picked ones with similar color tones, making them look particularly harmonious. Next to the photo wall, we placed three plants of different heights, giving the entire wall a sense of layering.
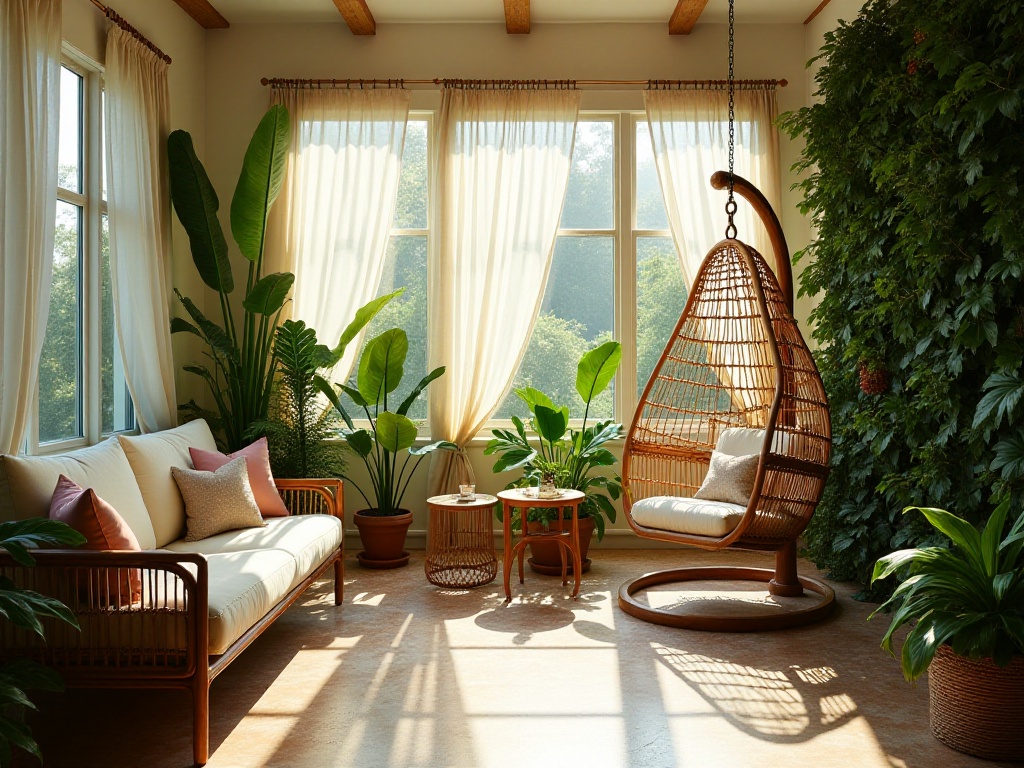
Speaking of plants, I really need to elaborate. Many people might think you just buy a potted plant and place it anywhere, but that's not the case. We need to consider three elements when choosing plants: height, shape, and maintenance difficulty. Like in my friend's home, we chose a 1.8-meter fiddle-leaf fig, a 1.2-meter monstera, and a 50-centimeter fern. These different heights create great layering when combined. Plus, these three plants are relatively easy to maintain and don't easily attract insects.
The bottom layer is our furniture layout. There's a particularly important principle here: uniformity. My friend chose a 3+2 sofa combination, all from the same series with identical heights. The coffee table and TV cabinet are also from one series, with materials and colors that complement each other. This makes the entire space look particularly coordinated.
Another point I find especially important is color matching. We chose light gray for furniture, off-white for walls, and dark gray for carpets. This monochromatic combination looks particularly sophisticated and doesn't easily go out of style. For curtains, we chose a silver-gray with subtle patterns, which can block light without feeling too heavy.
Speaking of dining rooms, I really need to rant a bit. I've noticed many people think a dining room design is just a dining table with four chairs, assuming that's enough as long as you can eat there. But I think the dining room actually best reflects quality of life! For this article, I seriously studied over 90 designer schemes and finally discovered a super practical "light and shadow aesthetics."
What is "light and shadow aesthetics"? Simply put, it's about cleverly using lighting and reflective surfaces to elevate the entire space's style. For example, in my dining room, it originally had just a regular ceiling light with a four-person dining table. Later, I hung three small pendant lights above the dining table, specifically choosing dimmable warm LED bulbs. This way, we can adjust to soft lighting during meals, creating a cozy atmosphere.
On one wall of the dining room, we installed a floor-to-ceiling mirror. This design is really fantastic! First, it makes the space appear larger, second, you can see the outside view through the mirror while eating, and most importantly, when the warm lights are on at night, the entire space is bathed in a warm glow, creating a particularly atmospheric feeling.
The choice of dining table is also crucial. I replaced my original wooden dining table with one that has a marble top. Why? Because marble tops are really easy to maintain and look particularly high-end. I chose four luxurious chairs with curved backs that are especially comfortable. The chair fabric is dark gray velvet, both durable and textured.
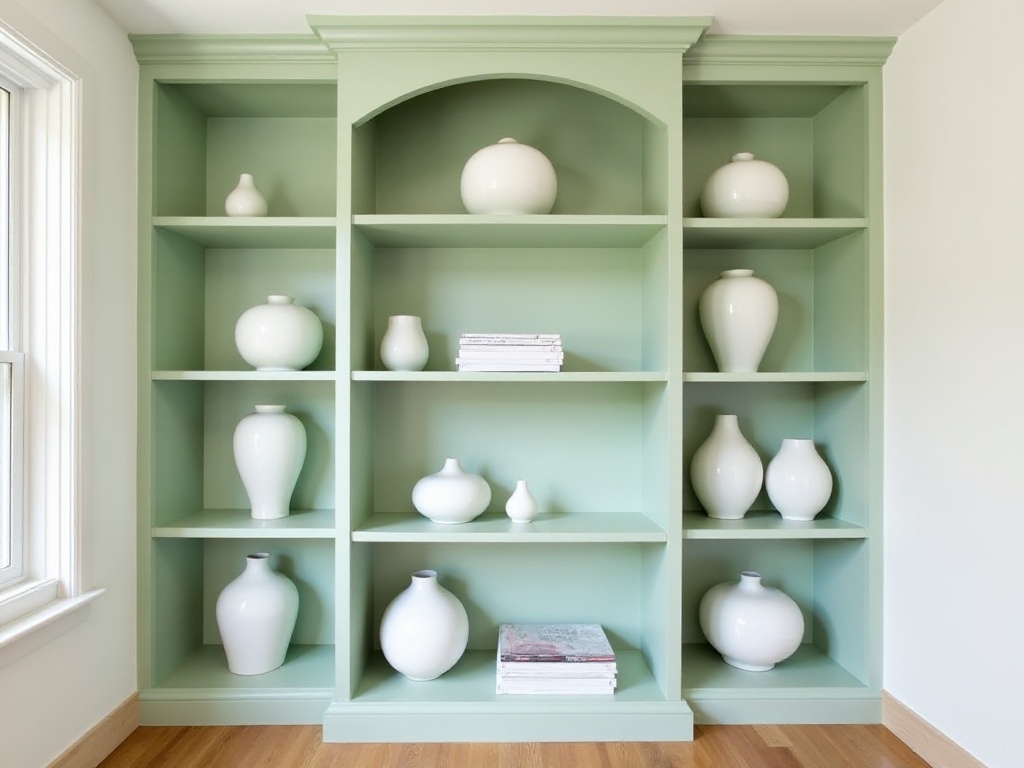
The sideboard is also key to elevating the dining room's class. My sideboard is a combination design, with storage cabinets below and glass display cases above. The display cases hold some elegant tableware and decorations, with LED spotlights installed inside. When lit at night, the entire dining room looks like a high-end restaurant.
Speaking of tableware, I think this is also an easily overlooked but particularly important detail. All my tableware is from a unified series, mainly white with some gold-edged designs. When eating with such elegant tableware, it really improves your mood.
The bedroom is really my favorite space, after all, we spend over eight hours here every day. After studying 68 high-end bedroom cases, I found that the headboard wall is where you can most easily create an effect. But before discussing the headboard wall, I want to talk about overall bedroom planning.
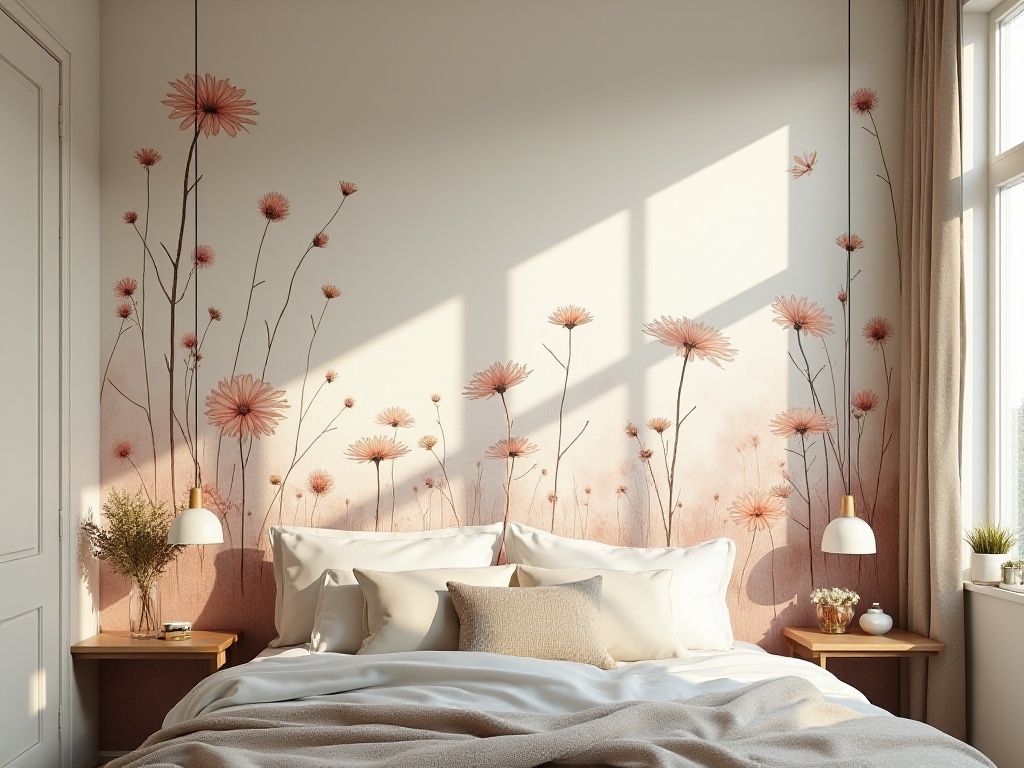
First is color selection. Bedroom colors must make people feel relaxed, so I suggest choosing warm tones or soft cool tones. In my home, I use a combination of light gray and off-white, plus some soft pink accessories, making the overall look particularly cozy.
Bedding selection is also important. All my bedding is 60-count or higher long-staple cotton, which feels particularly comfortable. I keep three different color sets of duvet covers and sheets, so I can change them regularly for different styles. I use a latex pillow, which though expensive, is particularly good for the neck.
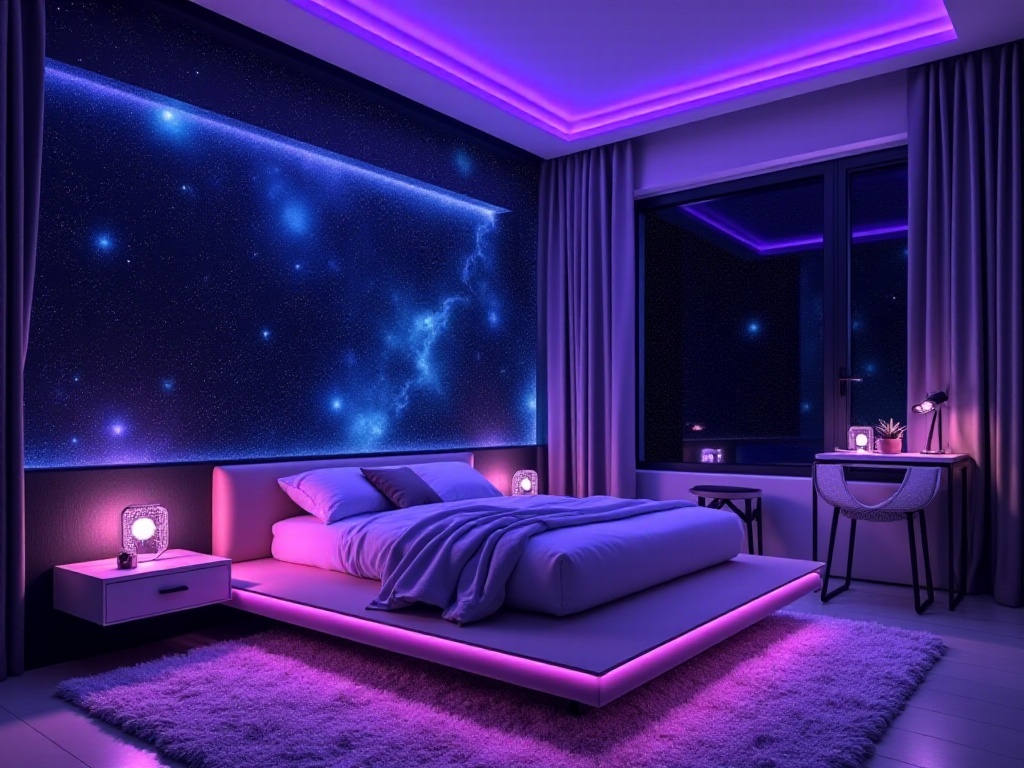
Back to the headboard wall, this is really my masterpiece. I created an irregular geometric pattern wall panel at the headboard, sprayed with pearl paint. The clever part of this design is that it looks light gray during the day, very understated; but at night when the bedside lamps are on, the pearl paint reflects a subtle sheen, giving it particular texture.
The choice of bedside tables is also particular. I chose wall-mounted bedside tables, making the floor look particularly clean. On the bedside tables are two minimalist design table lamps with adjustable lighting, particularly comfortable for reading at night.
Curtains are another focus in the bedroom. I chose double-layer curtains, with white sheers inside and blackout curtains outside. The sheers can protect privacy while letting sunlight in during the day, and the blackout curtains ensure good sleep quality at night. I chose light gray curtains with some subtle patterns, neither too plain nor too fancy.
Speaking of practical tips, what I most want to share is how to make small spaces look bigger. After all, houses aren't cheap nowadays, and every square meter needs to be utilized fully.
First is my favorite mirror technique. In my entryway, I used a floor-to-ceiling mirror. This mirror is really practical: first, it can be used as a full-length mirror for checking appearance before going out; second, it makes the entrance space look particularly spacious; third, it can reflect the entryway lights, making the entire space brighter.
Next is the use of color tones. If you want to make a space look larger, I suggest using light colors for walls. All my walls are off-white, paired with some dark furniture as accents. This way it neither looks too monotonous nor makes the space look more transparent.
Storage is also a big issue. Many of my furniture pieces have storage functions. For example, there are drawers under the sofa, the coffee table is adjustable and can store items, and the bed is a storage bed. This way, many things can be stored away, making the space look neater.
Let's talk about the most cost-effective renovation method: changing wallpaper. The walls in my second bedroom had yellowed a bit, so I spent 300 yuan on a roll of luxury-style wallpaper and put it on the TV background wall. This renovation was really worth it! The room's style was instantly elevated. Plus, wallpaper can be changed according to mood, particularly flexible.
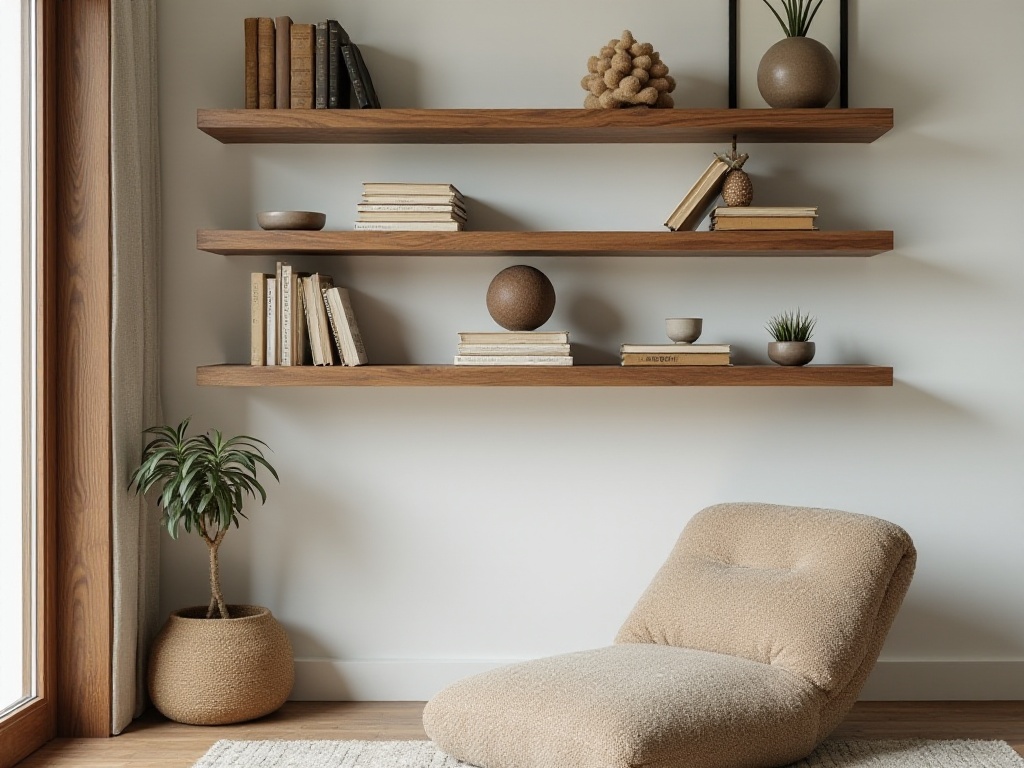
Another technique I find particularly useful is soft decoration matching. Things like cushions, carpets, and decorative paintings might seem insignificant, but when chosen correctly, they can instantly elevate the space's class. My cushions are all in the same color scheme but different textures, looking particularly layered. I chose short-pile carpets that are easy to clean and don't show dirt. I change decorative paintings regularly, so the home always feels fresh.

Speaking of saving money, I really have a lot to say. As a young person who hasn't worked for many years, I've also experienced times when money was tight. But I think renovation doesn't necessarily require spending big money; the key is knowing how to find resources.
Let me first talk about my most proud balcony transformation. I remember that time I only spent 200 yuan to transform the balcony into an internet-famous small garden. The key was that I found a special-price iron flower rack, originally over 100 yuan each, on sale for just 30 yuan. I immediately took five home without hesitation. Then I placed some plants on the flower racks, things like pothos and succulents that are easy to maintain. Add a few rattan storage baskets, and the whole balcony became a super comfortable little garden.
Second-hand furniture is also a good choice. My solid wood coffee table was found in the second-hand market for only 300 yuan. After bringing it home, I sanded it myself and applied a layer of varnish. Now it looks particularly stylish in the living room, and friends think it's high-end merchandise.
Let me also share my experience in buying lighting fixtures. I found that many lighting specialty stores have particularly high prices, but the same styles might only cost half as much online. Most of my lighting fixtures were bought online, but you need to pay attention to reviews and actual photos.
There are also many ways to save money on soft furnishings. For example, I buy cushion covers online, twenty or thirty yuan each, with many styles available. For curtains, I buy fabric online and find a tailor auntie in the community to make them, which is not only cheaper but also completely customizable to my desired style.
I have a particularly money-saving method for decorative paintings: print them yourself. There are many high-resolution art images online, I choose ones I like and have them printed at a print shop, then buy some simple frames to mount them. This way, a decorative painting might only cost a few dozen yuan, but the effect is particularly good.

After so many years of renovation experience, my biggest realization is: renovation isn't about who spends more money, but about spending money wisely. As I often tell friends, good design isn't about piling up expensive materials, but about making everything serve its purpose while matching well.
For example, spending a bit more time researching lighting plans can elevate the entire space's class by several levels. Also, color matching doesn't cost anything, but if you can master color matching principles, your home will immediately become very stylish.
I think the most important thing is to have patience, don't rush for quick results. I made many mistakes in my first renovation too, bought many impractical things. But these lessons all became valuable experience for my later renovations. Now before buying things, I carefully research whether I really need them and whether they really suit me, which actually saves a lot of unnecessary expenses.
Actually, everyone understands home differently, you don't necessarily need to pursue how high-end or luxurious it is, the key is to live comfortably and suit your lifestyle. I hope the experiences I've shared can give everyone some inspiration to help make their homes cozier and more tasteful.
Do you have any renovation troubles? Or any particularly satisfying transformation results? Welcome to share with me in the comments. Oh, if you found this article helpful, don't forget to like it. Next week I plan to publish some practical storage tips, remember to follow me, see you next time.
 Previous