
Description
Have you ever encountered stubborn stains or clogged drains? Don't worry, the combination of baking powder and vinegar can easily handle these troubles. This method is actually very simple but highly effective. When baking powder (the one we usually use for cakes) combines with vinegar, it creates a chemical reaction producing foam and gas that can deeply clean dirt and clogs.
Let's talk about this method in detail. First, the chemical reaction between baking powder and vinegar occurs because the sodium bicarbonate (baking soda) in baking powder neutralizes with the acetic acid in vinegar, producing carbon dioxide gas. This gas creates a lot of foam that can penetrate stains or clogs, helping to break down and remove them. Compared to chemical cleaners, this method is not only eco-friendly but also reduces potential health risks. Think about it - the chemical cleaners we usually use contain various harmful substances that could damage our skin, respiratory system, and overall health with long-term exposure. The combination of baking powder and vinegar, however, is a natural and harmless alternative.
Steps
First, prepare half a cup of baking powder and pour it directly into the drain or sprinkle it on the stain. The fine particles of baking powder can well cover the stain surface, preparing for the subsequent reaction. Then, pour in a cup of white vinegar. Remember to add the baking powder first, then the vinegar, as this will create a stronger reaction. You'll see them start to bubble - this is a good sign, showing they're working. Let this mixture sit for about 15 minutes, giving it enough time to work its magic. The foam will gradually penetrate the dirt, softening and breaking it down. Afterward, flush the drain with hot water or gently scrub the stained area with a brush. The hot water helps remove residue from the foam and thoroughly wash away the stains.
Example
For instance, if you have a coffee cup with stubborn coffee stains, you can do this: first sprinkle some baking powder in the cup, then pour in vinegar, and wait for them to react and create foam. You'll see the coffee stains start to fade as the foam dances on the surface, seemingly telling you it's working hard to remove the dirt. Then, take a brush and gently scrub - the stains will be easily cleaned away. Isn't this method simple and practical? Not just for coffee cups, but tea pots, kettles, and other daily items with mineral deposits can also be easily cleaned using this method. You can even try this method on kitchen grease, making cleaning no longer a tedious task.
Description
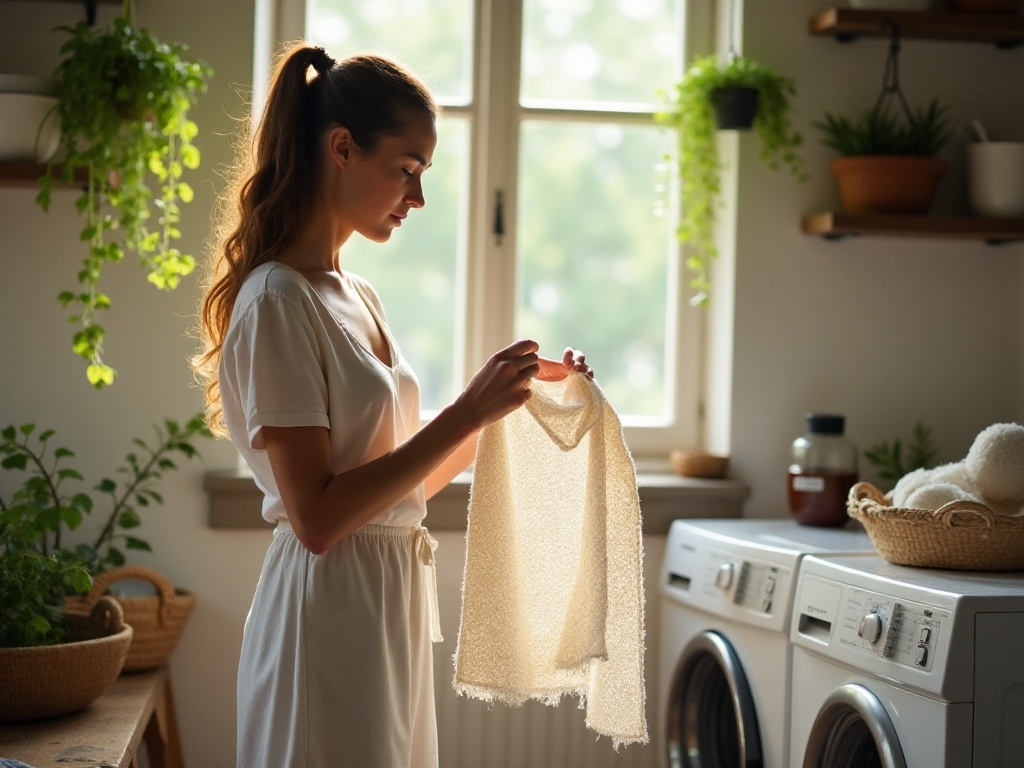
Did you know you can make your own eco-friendly dryer sheets that both reduce static and give your clothes a subtle fragrance? Many commercial dryer sheets contain chemical ingredients that aren't very friendly to the environment or health. So why not make an eco-friendly version ourselves? Homemade dryer sheets not only protect the environment but also provide a better user experience.
Making your own dryer sheets is actually very simple and fun. By making them yourself, you can choose your preferred scents and avoid potentially irritating chemicals found in commercial products. These homemade dryer sheets not only make your clothes smell fresh and natural but also reduce static cling during the washing process and extend the life of your garments.
Materials
Steps
First, soak the fabric squares in water and add a few drops of your favorite essential oil or fabric softener. When choosing essential oils, lavender can bring calming and relaxing effects, while lemon can energize. Let them soak for a while to fully absorb the fragrance. Then, let them dry. When doing laundry, place one sheet in the dryer to reduce static and add a pleasant scent to your clothes. The drying process is important because damp fabric might cause uneven drying in the dryer, affecting the final results.
Example
If you like a calm feeling, try using lavender essential oil. Lavender not only provides a pleasant scent while doing laundry but also brings a sense of tranquility to your clothes while they're drying. Imagine opening your closet and being greeted by a subtle lavender scent that helps you feel relaxed. Or, if you prefer a more vibrant atmosphere, lemon essential oil can make you feel energized every time you put on your clothes, as if you're standing under a lemon tree on a sunny summer day.
Description
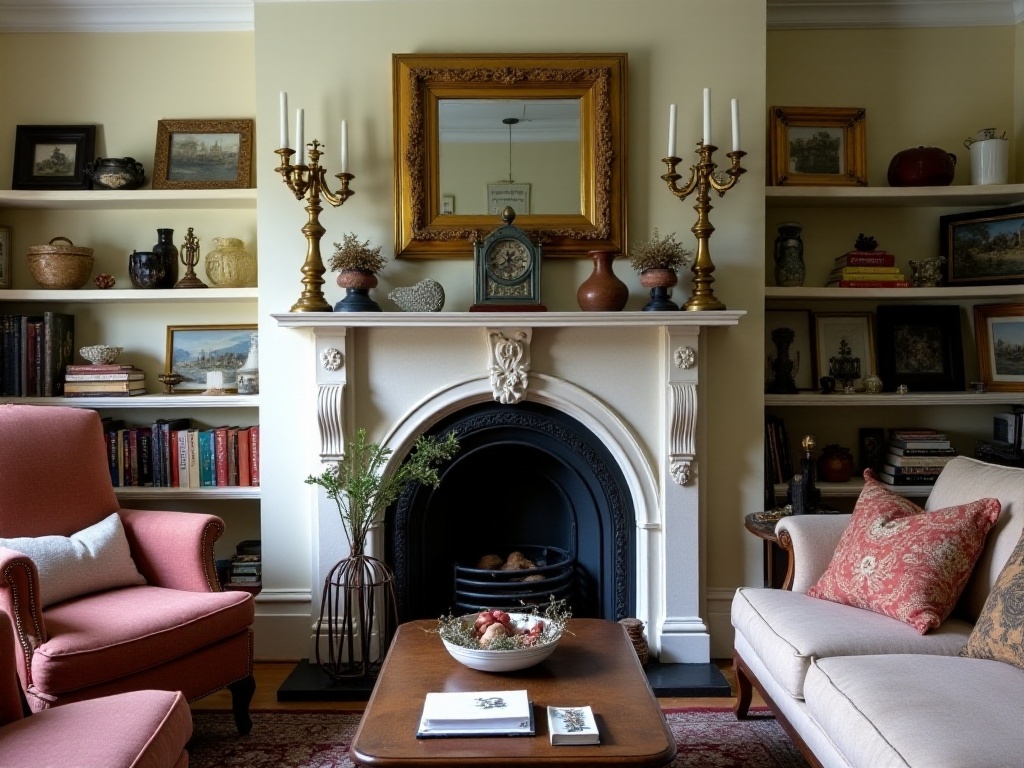
Do your walls look a bit empty? Why not try creating a gallery wall? This method not only adds artistic flair to your home but also displays your most treasured photos, artwork, or memorabilia. Each gallery wall is unique, reflecting the owner's personality and taste. Through careful design, you can turn every wall in your home into a distinctive display space.
Steps
First, choose a theme or color scheme to determine your gallery wall's style. Whether you prefer nostalgic black and white photos, vibrant colored artwork, or travel souvenirs, they can all be unified through colors and themes. Next, arrange your frames and items on the floor to preview the effect. This allows you to adjust the layout before actually hanging them, avoiding awkward gaps on the wall. Use a level and measuring tape to ensure everything hangs straight and with even spacing. Start hanging from the center and work your way outward. This ensures your gallery wall looks neat and organized.
Example
If you love traveling, you can create a travel-themed gallery wall. Decorate it with postcards, maps, and photos collected from your journeys. Each photo tells a story, each souvenir holds a memory. Every time you look at this wall, you'll be reminded of those wonderful times, won't you? Beyond travel, you could also choose a family theme to showcase family history and memories, or an art theme to display your love for fine arts. A gallery wall isn't just decoration; it's a way to tell your personal story.
Description
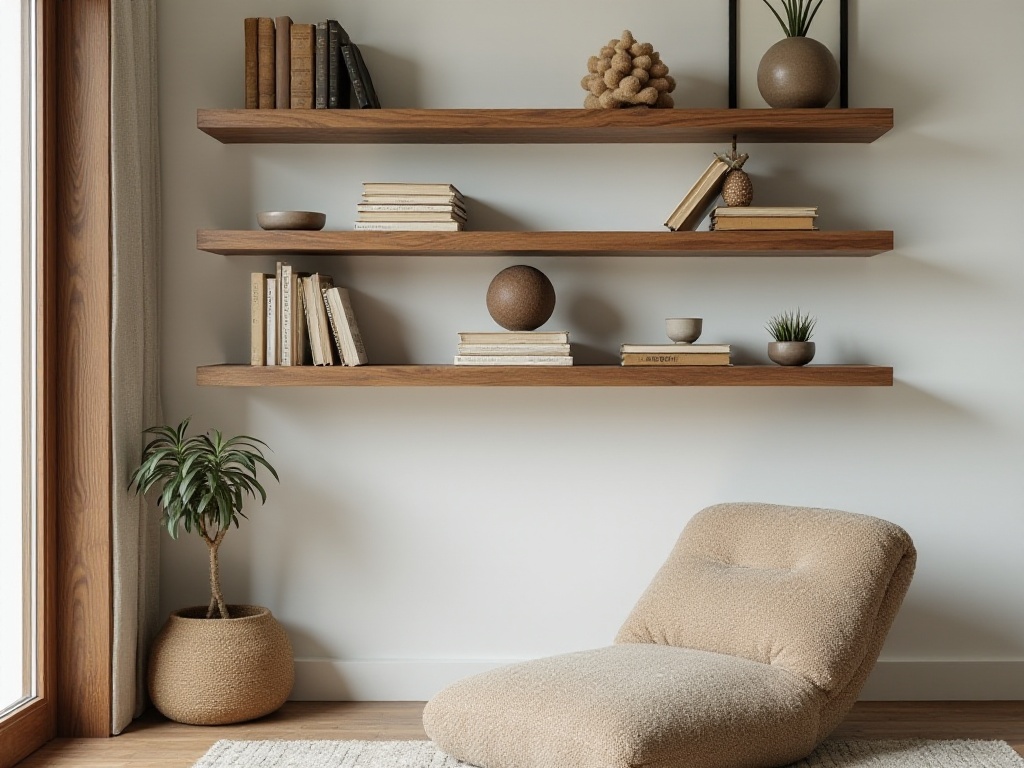
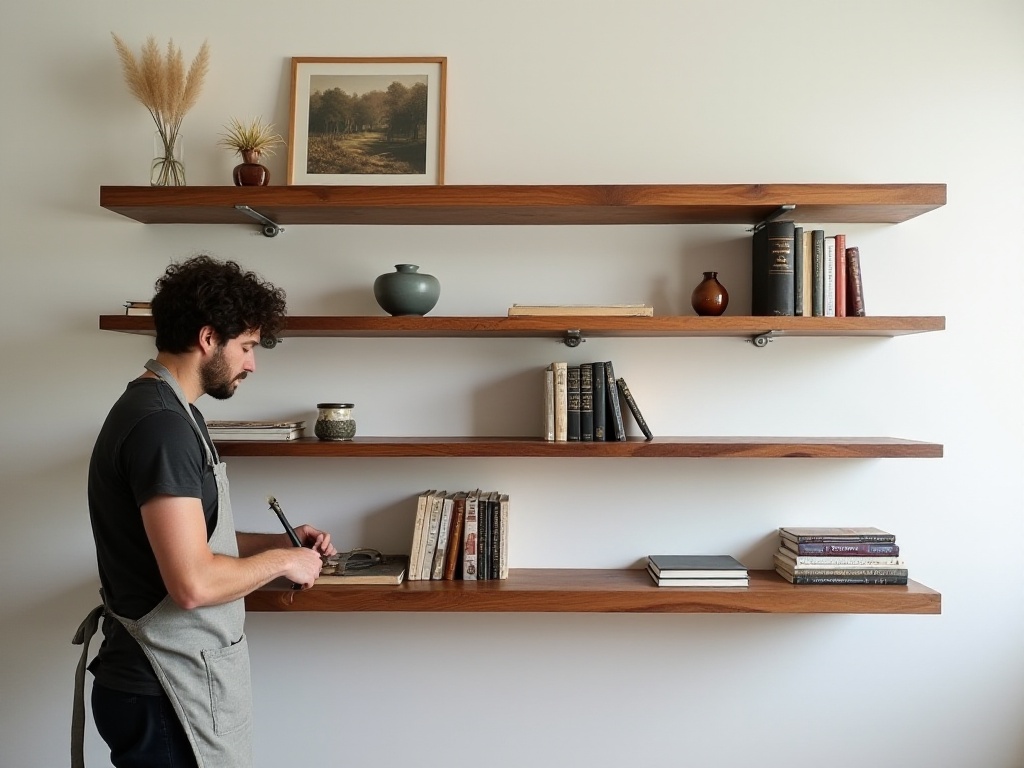
Want to make your room both functional and design-conscious? Try making your own floating shelves. Floating shelves not only save space but also make your home look more modern and clean. Through DIY floating shelves, you can design and create according to your room's needs and style, truly achieving personalized home decoration.
Materials
Steps
First, cut the wood boards according to your desired length. Choose wood boards based on your home's overall style, whether keeping the natural wood color or painting them your preferred color. Then, if you want the boards to look more designed, you can paint or coat them. Choose colors that complement your room's color scheme or create striking contrasts for visual impact. Attach the brackets to the back of the wood boards, then secure the brackets to the wall, ensuring they're level. Finally, you can display your favorite items on them. When installing, be mindful of the boards' weight capacity to ensure safe use.
Example
Install floating shelves in the bathroom to display your toiletries, or in the living room for books and decorative items. Such floating shelves are not only practical but also make your home look more designed. Imagine in your bathroom, toiletries like shampoo, conditioner, and perfume neatly arranged on the floating shelves - seeing this orderly arrangement every morning will lift your spirits. Or in the living room, your favorite books and small decorations on the floating shelves add layers and artistic atmosphere to the entire space. What do you think?
In every corner of life, we can find little tricks to make life easier and more enjoyable. Cleaning and decoration are two major themes in home life, and mastering these tips can not only make your living environment cleaner and more beautiful but also fill your daily life with fun and creativity. Try these techniques, and you'll discover how interesting and easy home life can be. Remember, every attempt in life is an opportunity to learn and enjoy. Hope these tips can bring some small changes and surprises to your life.
 Previous

